Lab: Transforming Images
Preparation
a. Create a folder called lab-10-08 in your StuWork directory.
b. Download the following starter files and place them in your lab-10-08 directory.
c. Open up an extra tab to the Online Graphics Reference. You can also find this on the Resources page.
d. Open a Terminal and navigate to your lab-10-08 directory.
Exercise 1
The images_lab.py starter file includes a function called color_swatch.
a. Read the documentation provided above the color_swatch function and make sure you understand what its purpose is.
b. Open up a REPL and execute the following lines to play around with the color_swatch function.
>>> from images_lab import *
>>> color1 = [255, 128, 0]
>>> color2 = [0, 128, 128]
>>> color3 = [128, 43, 97]
>>> colors = [color1, color2, color3]
>>> color_swatch(colors)
c. Experiment with other lists of colors of your choice and call color_swatch on them.
d. Take a look at the redder function and its documentation. Now try typing the following into your REPL:
>>> c1 = [100, 100, 100]
>>> c2 = redder(c1)
>>> c3 = redder(c2)
>>> win = color_swatch([c1,c2,c3])
Exercise 2
Now let’s experiment with images! The images_lab.py file comes with several helpful functions for displaying and manipulating an image. The display_image function takes an image and will display it to you, and the image_transform that can create new images by applying a simple image transformation to a given image.
a. Take a look at the documentation of the display_image and image_transform functions to make sure you understand what they do.
b. Test out the display_image function by typing the following into the REPL.
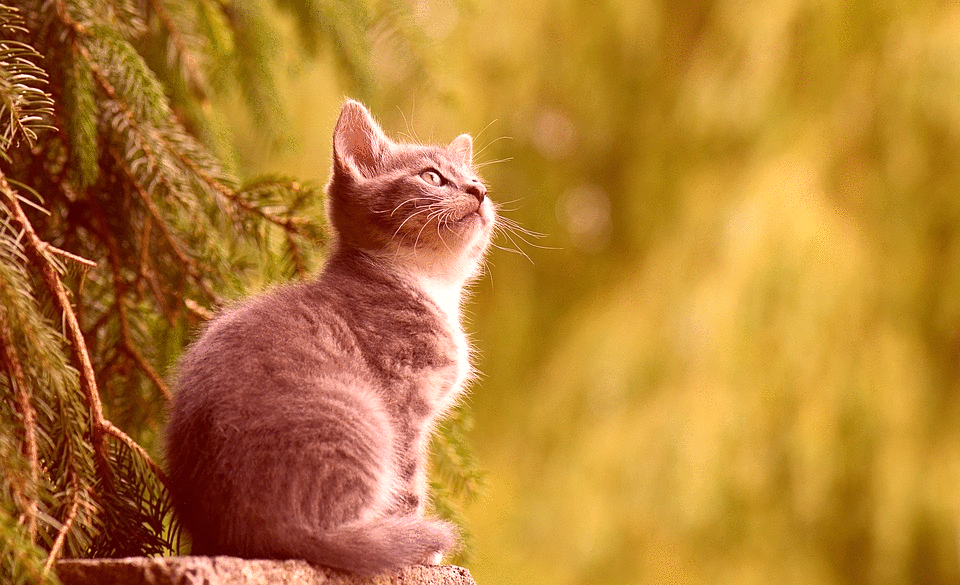
>>> img = Image(Point(0,0), "cat.gif")
>>> display_image(img)
The picture of the cat should appear. Leave the REPL and the window of the cat open and move on to the next part.
c. Let’s try modifying the image using the redder function. Try typing the following into the REPL:
redder_img = image_transform(img, redder)
display_image(redder_img)
Compare the redder image to the original. Cool, right?
e. Take a close look at the image_transform function again. Notice the line of code that reads new_pixel = effect(pixel). Remember that effect was passed in as a parameter to the image_transform function. Python allows you to pass functions around as parameters and call them inside other functions! Languages that support this feature are often called functional programming languages. Passing functions around as parameters is a very powerful mechanism in Python.
f. Let’s try writing our own image transformation function. Using the redder function as a guide, write a function called brighter that takes an [r,g,b] color as a parameter and returns a new color with each of its components boosted by 32.
g. Close out of your old REPL and open it again so that you can test your brighter function. Try applying your brighter function to the cat image by executing:
>>> from images_lab import *
>>> img = Image(Point(0,0), "cat.gif")
>>> bright_img = image_transform(img, brighter)
>>> display_image(img)
>>> display_image(bright_img)
Exercise 3
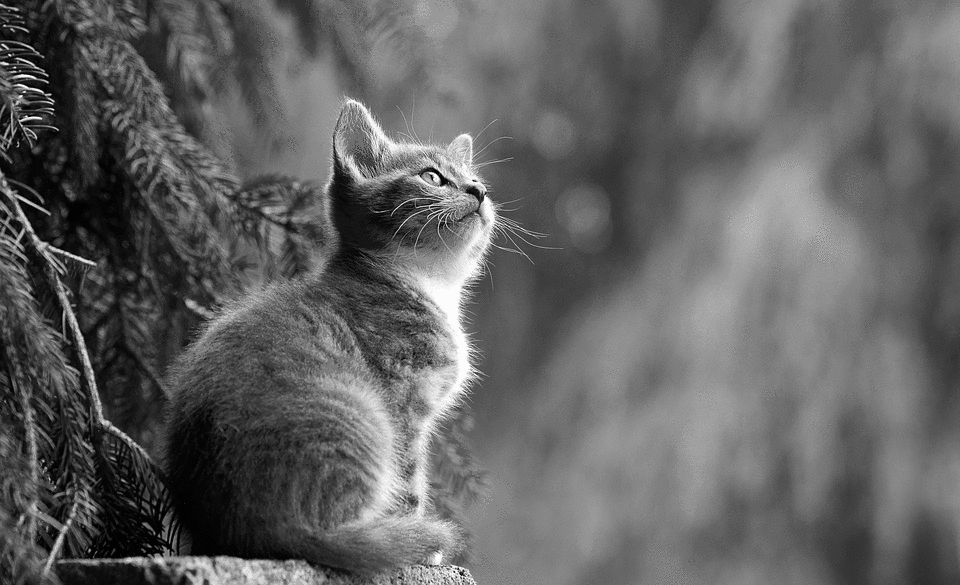
Suppose we want to transform a photo to grayscale. To do this, we could create a color transformation function similar to redder that turns a color into its gray equivalent. Let’s give this a try.
a. Write a function called turn_gray that takes a color of the form [r,g,b] and returns a color with values [val, val, val] where val is the average of the numbers r, g, and b.
b. Refresh your REPL and try applying your turn_gray function to the cat.gif using image_transform(img, turn_gray). Verify that it is now grayscale.
c. What if we want to save our modified image? The graphics.py library allows you to save files using the save method. If you named your gray image gray_img, you can save the new image with:
>>> gray_img.save("gray-cat.png")
A new file called gray-cat.png should appear in your lab directory. You can try opening it up in the OSX default image viewer if you want.
Exercise 4
Write a new transform function called increase_contrast that takes as a parameter a color of the form [r, g, b] and returns a new color [a, b, c] by doing the following:
- If the component of the input color is between 0 and 127, then the corresponding output component is decreased by 32.
- If the component of the input color is between 128 and 255, then the corresponding output component is increased by 32.
For example, if your input color is [100, 200, 150], the output color would be [68, 232, 182].
Now try applying your function to the cat image to see what it does.