The problem we had with JavaFX in class is due to the removal of JavaFX from Java 11, with the intention of having JavaFX continue as a stand-alone open source project. Though this was announced last March, I missed the announcement, and the transition only happened in late September. Whoops. Here's one news article on the subject.
How to install and run a JavaFX project? The instructions below should help. I took the screenshots on my Mac (easier than dealing with my weird Windows machine), but I'll be happy to hear how it goes for you on all platforms.
Get Java 11
- Download and install the Java Standard Edition Developer Kit (variously known as Java SE or JDK).
- Check to see if it's installed (run "java -version" in whatever command-line you're using).
- Windows 10: I found that just running "java" at Ubuntu or cmd or PowerShell didn't
work. If I added
export PATH="$PATH:/mnt/c/Users/jondich/Program Files/Java/jdk-11.0.1/bin"to my .bashrc and relaunched bash, I could execute "java.exe -version" but not "java -version". Similarly, modifying the Windows path would undoubtedly let me execute the Java commands from PowerShell and cmd.
Get JavaFX
- Download JavaFX. Choose the SDK option, not the jmods option.,
- Decompress the download, and move it somewhere convenient. On my Mac, I moved the resulting folder (javafx-sdk-11) to /Users/jondich/Documents/javafx-sdk-11
- Windows 10: I moved it to C:\Users\jondich\Documents\javafx-sdk-11
Add JavaFX support to the Daleks project
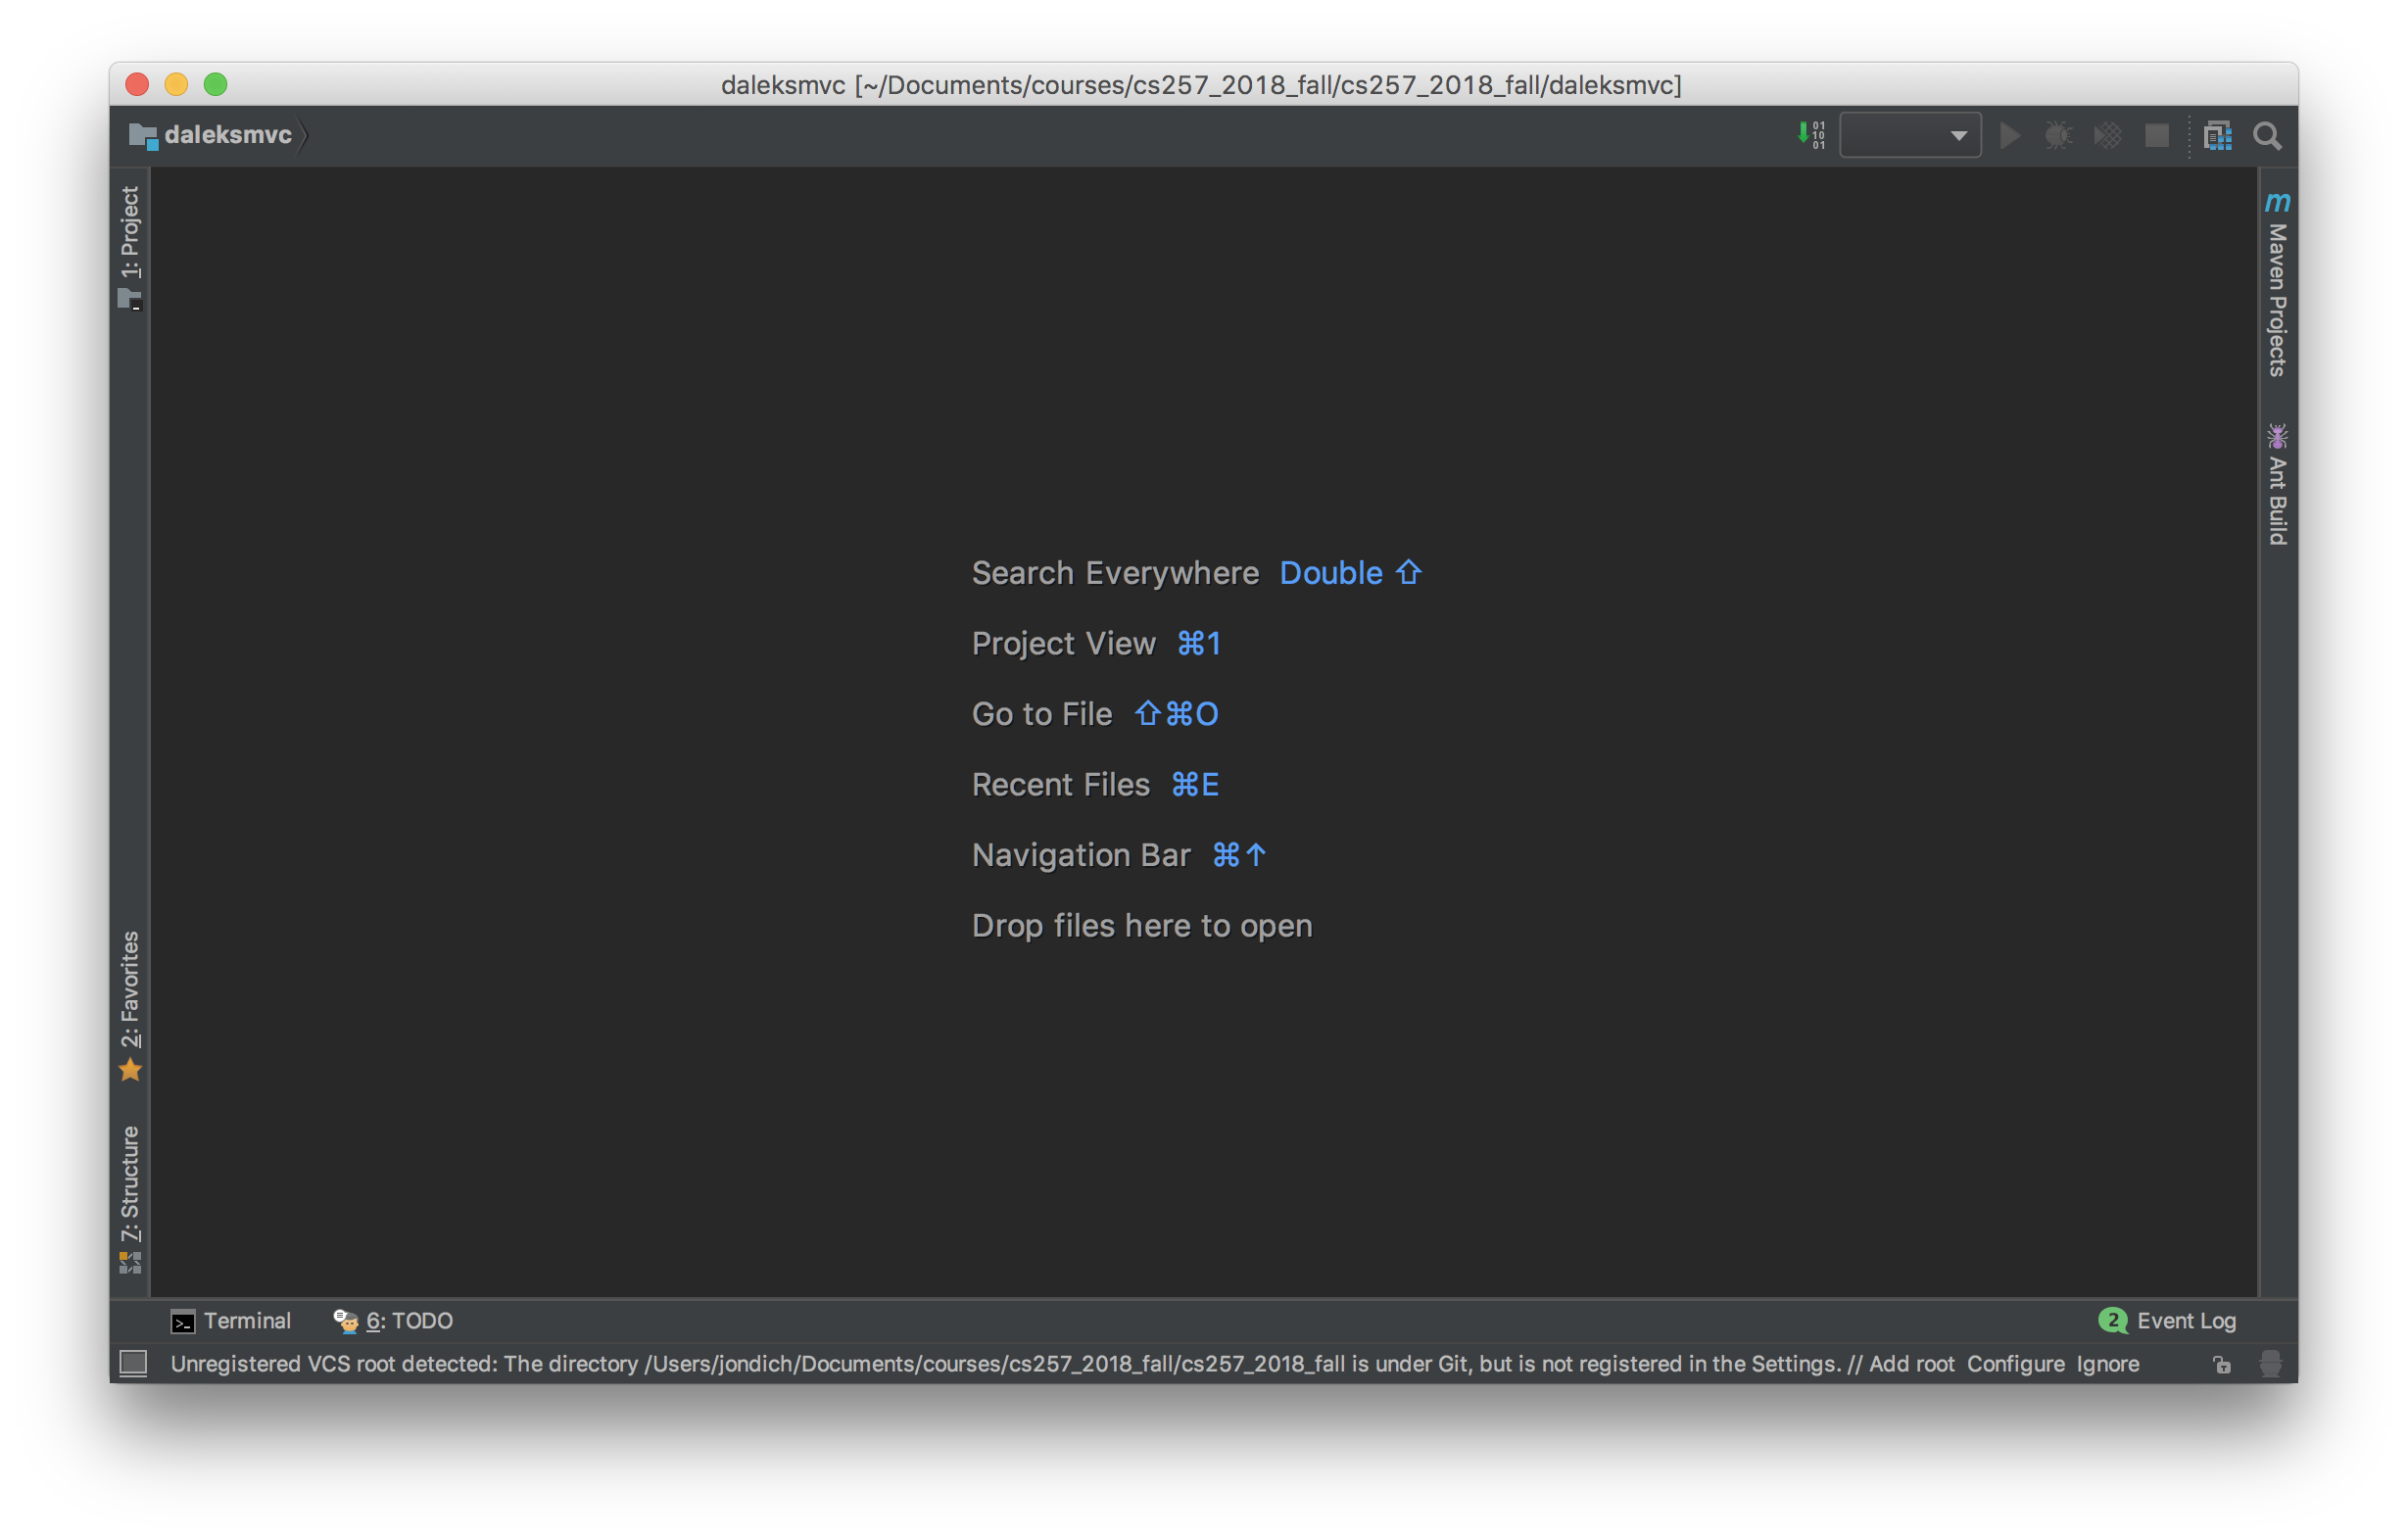
- Launch IntelliJ and open the Daleks project. (In the Open dialogue, select the daleksmvc folder.)
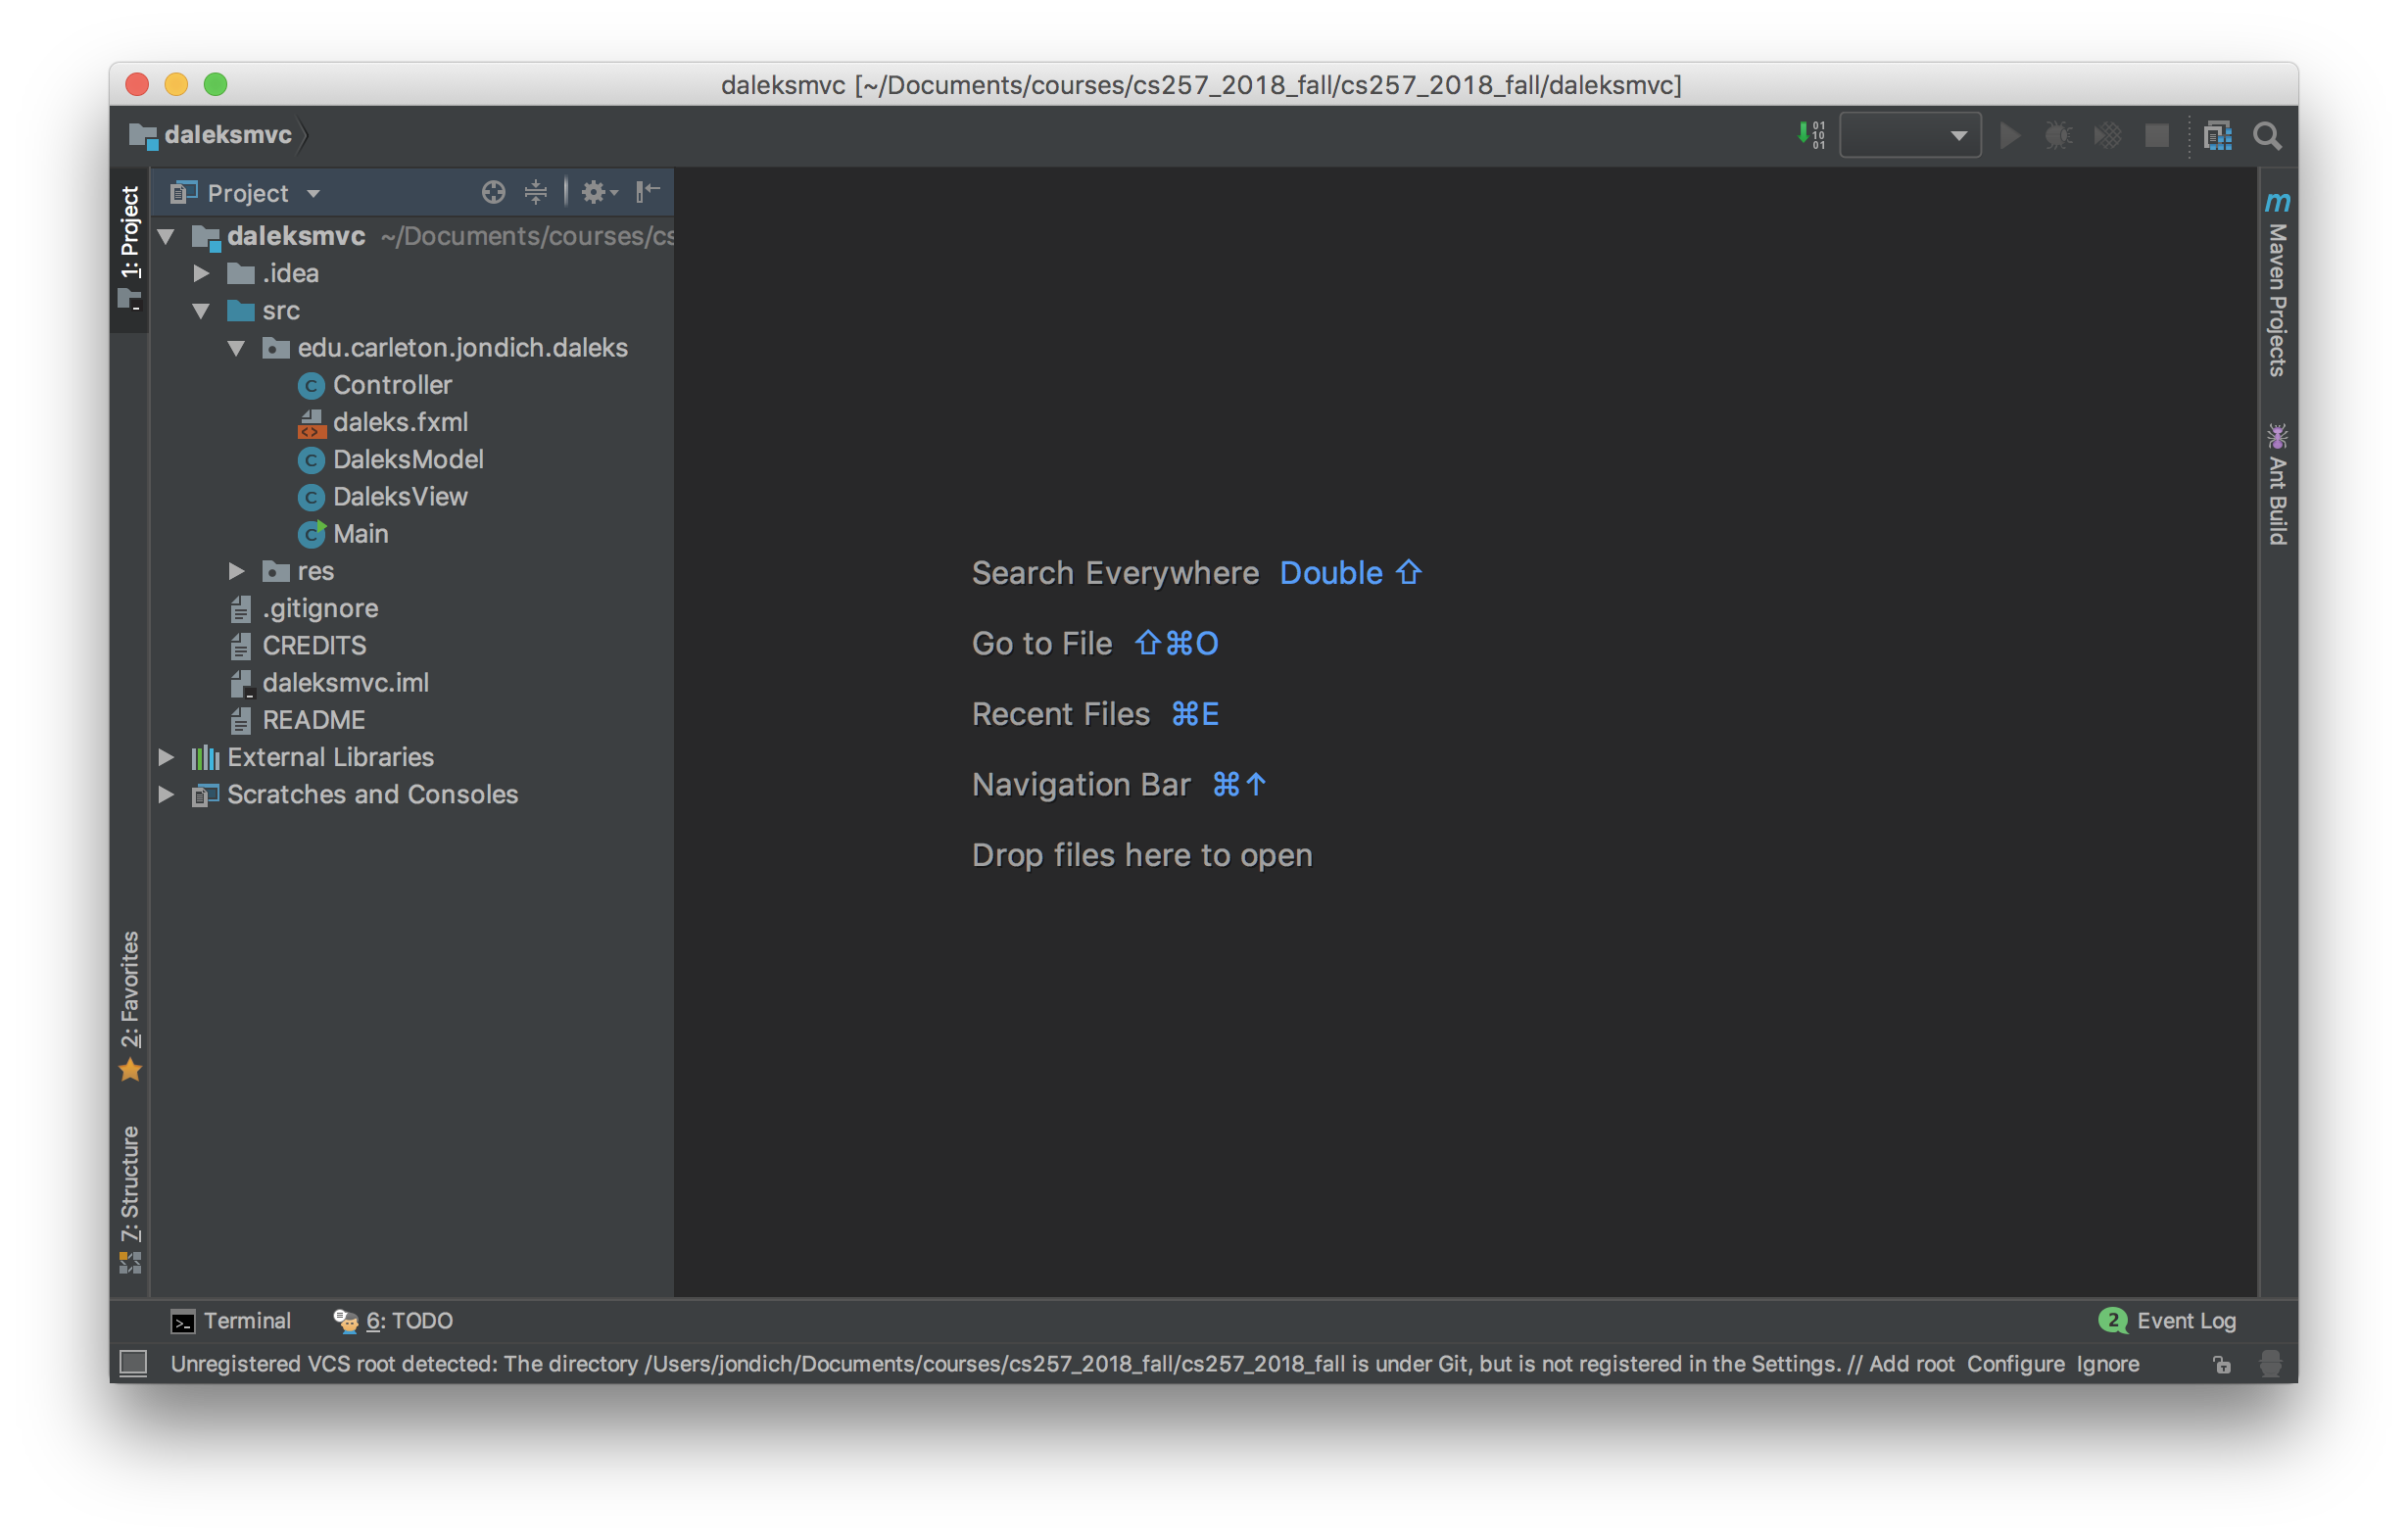
- Show the project panel by clicking on the sideways Project tab at the upper left of the window.
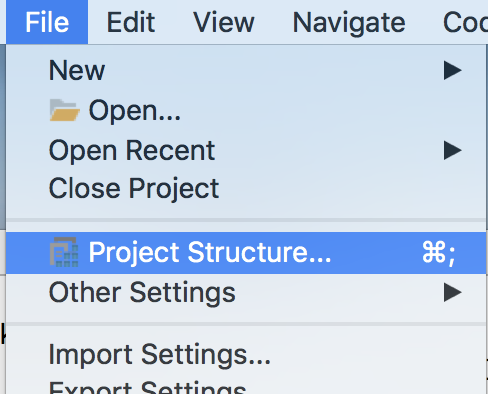
- Open the Project Structure dialog:
Select Java 11 from the "Project SDK" dropdown. You might have to click on New... and find your installation of Java 11 as in the picture on the right:
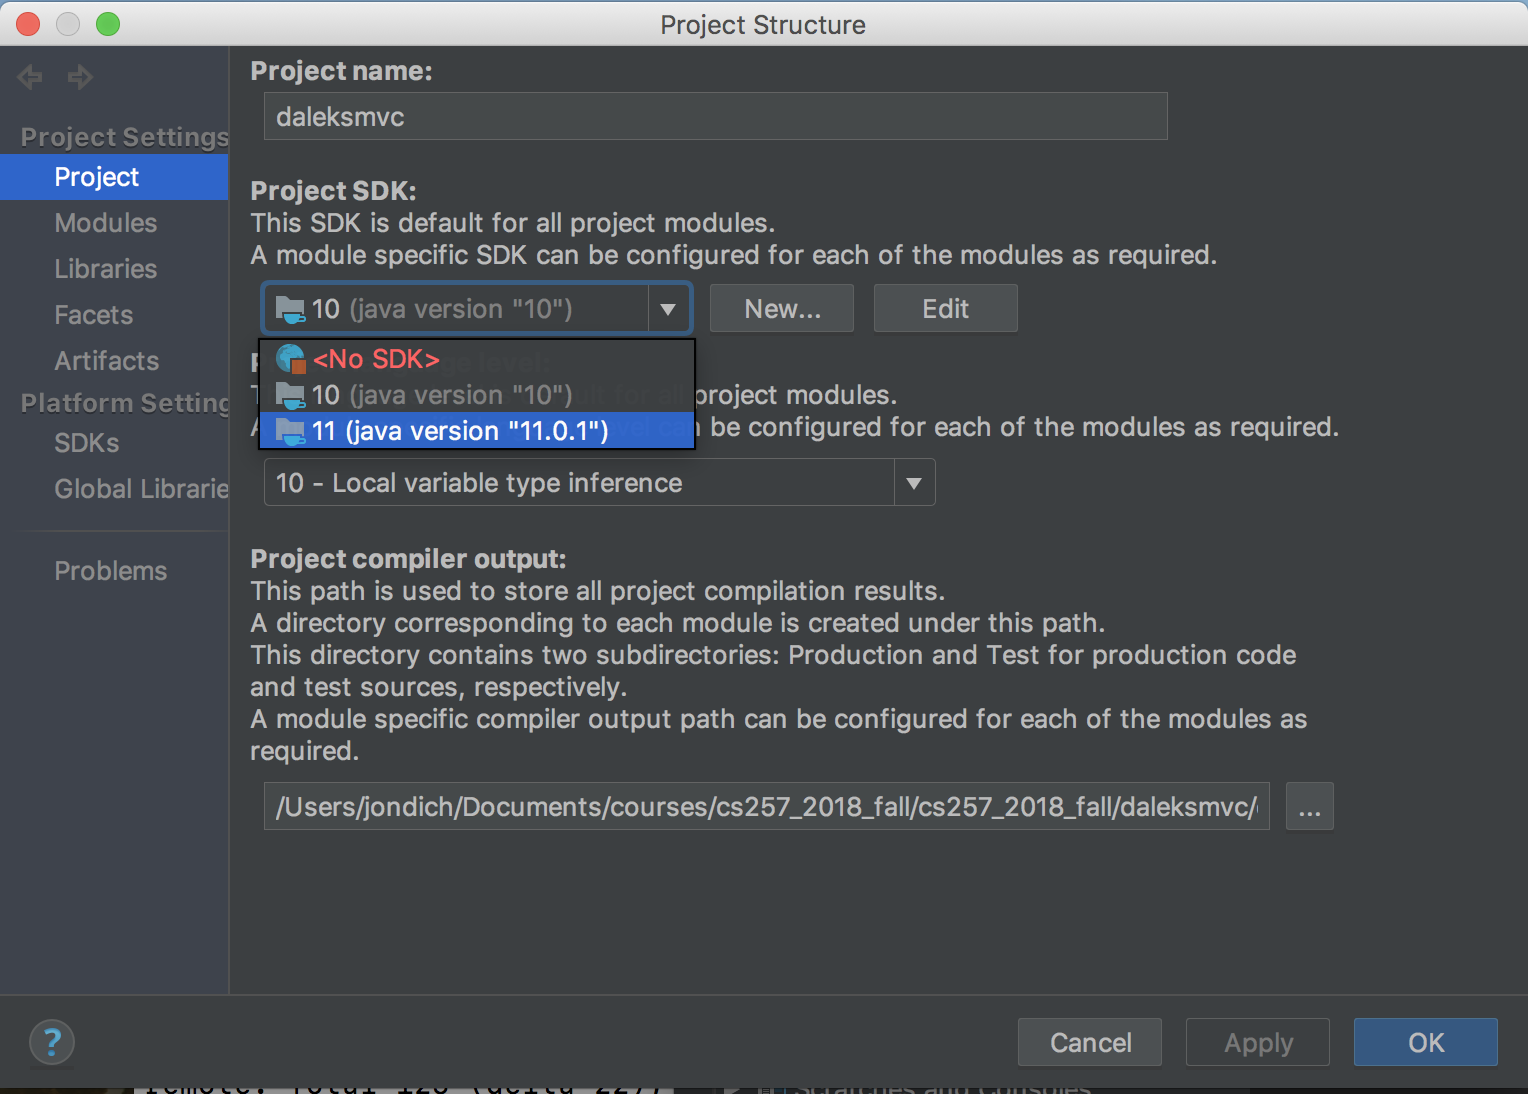
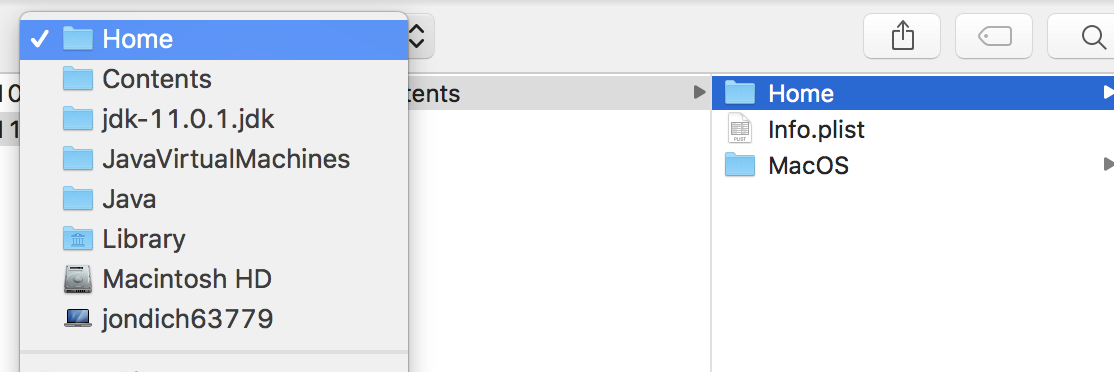
If you installed Java 11 in the default location, IntelliJ should open the New... dialog pointing to the right place.Windows 10: IntelliJ did not in fact open the New... dialog point to the right place, so I had to navigate to C:\Program Files\Java\ and select the jdk-11.0.1 folder. That made it work.
- Still in the Project Structure dialog, select "10 Local variable type inference" from the "Project language level" dropdown.
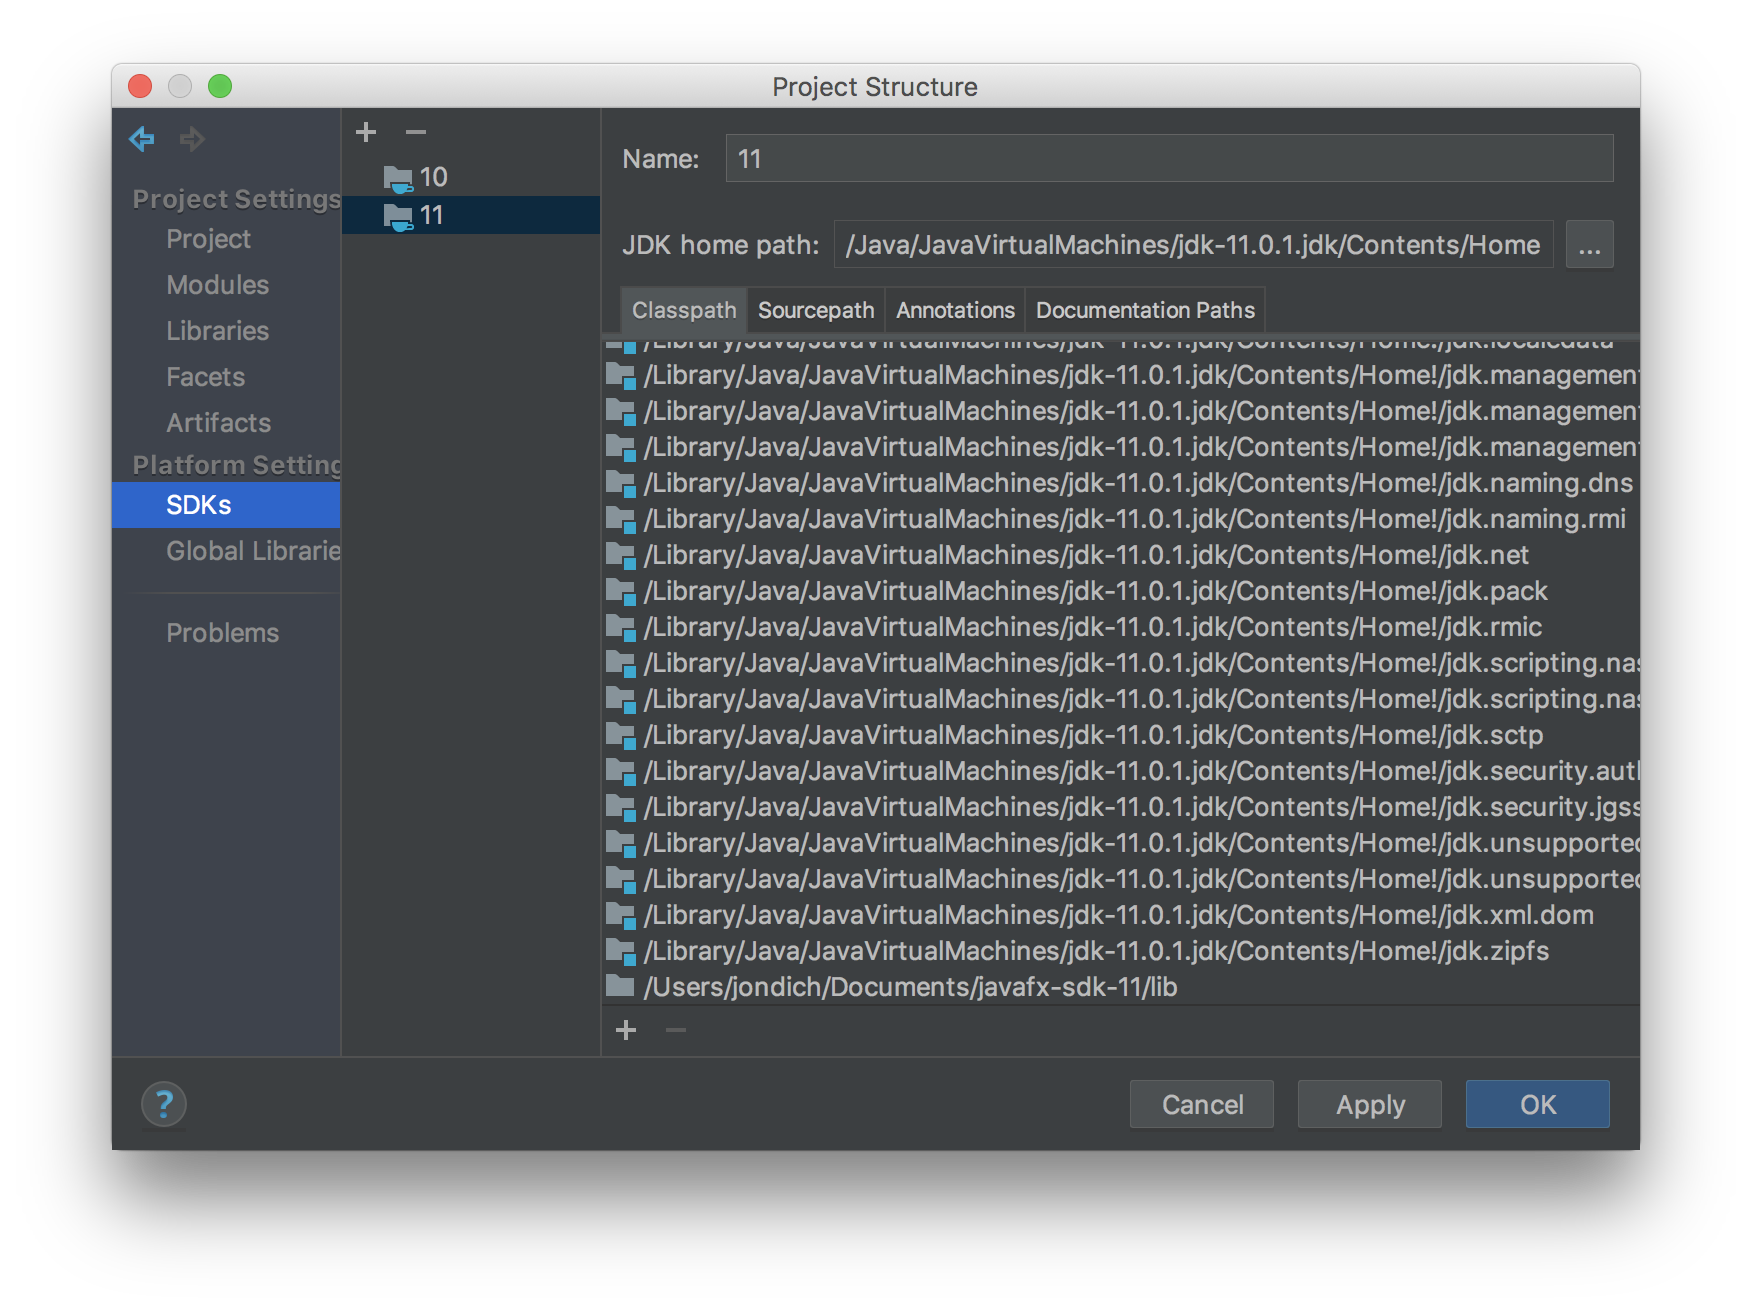
- Still in the Project Structure dialog, select "SDKs" in the left navigation panel, and
"11" in the center panel. Then select the Classpath tab and click on the + at the bottom of the
window. (Windows 10: the + button was on the right side of the dialog for me, but
my Windows laptop is 13", so the small screen might change the UI.)
Navigate to wherever you saved the javafx-sdk-11/lib folder, and select all the .jar files inside lib.
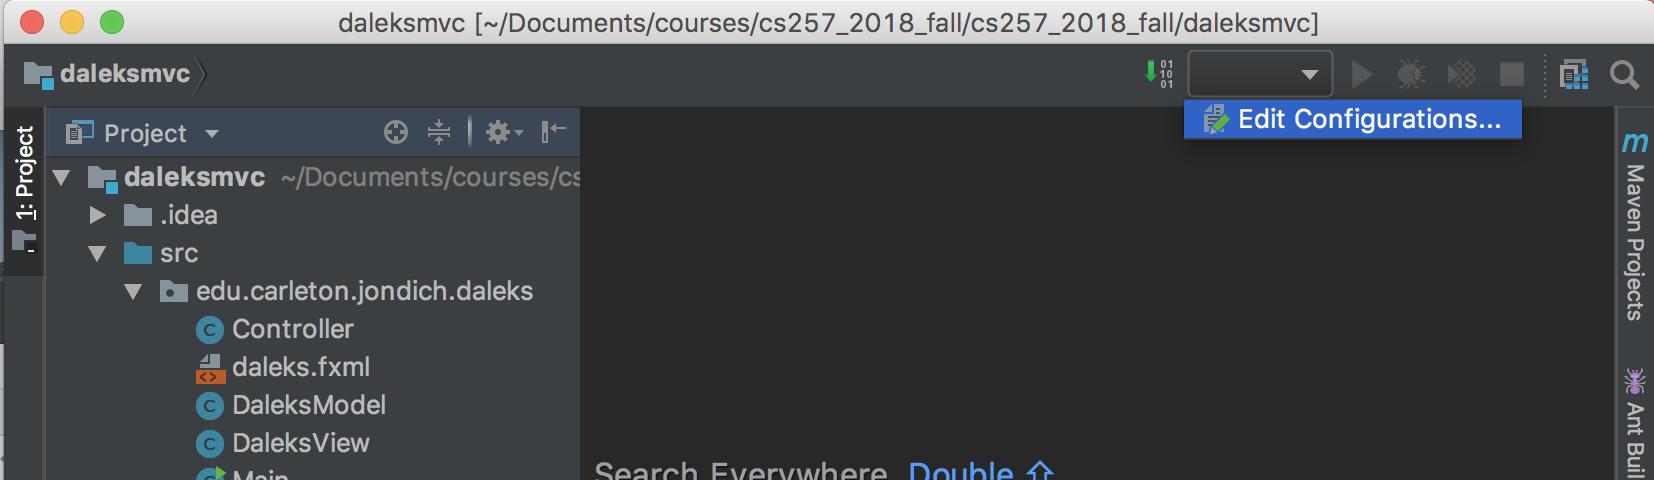
Click OK to finish with the Project Structure dialog. - Back in the main window, select "Edit Configurations":
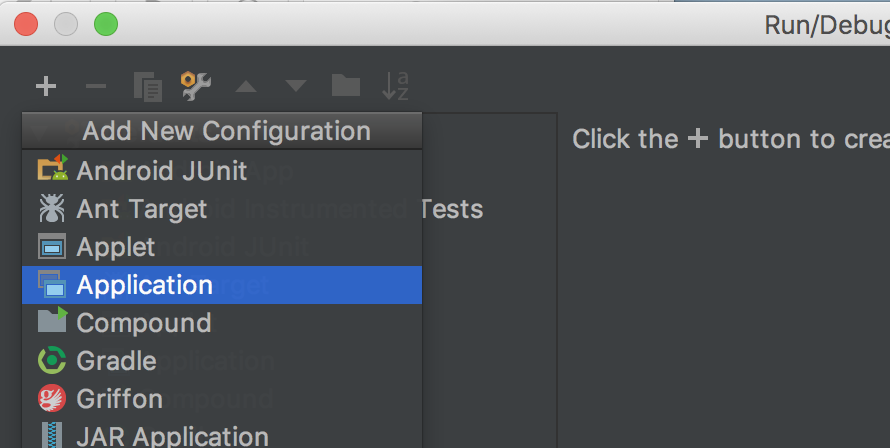
- In the Run/Debug Configurations dialog, click on the + in the upper left and select Application:
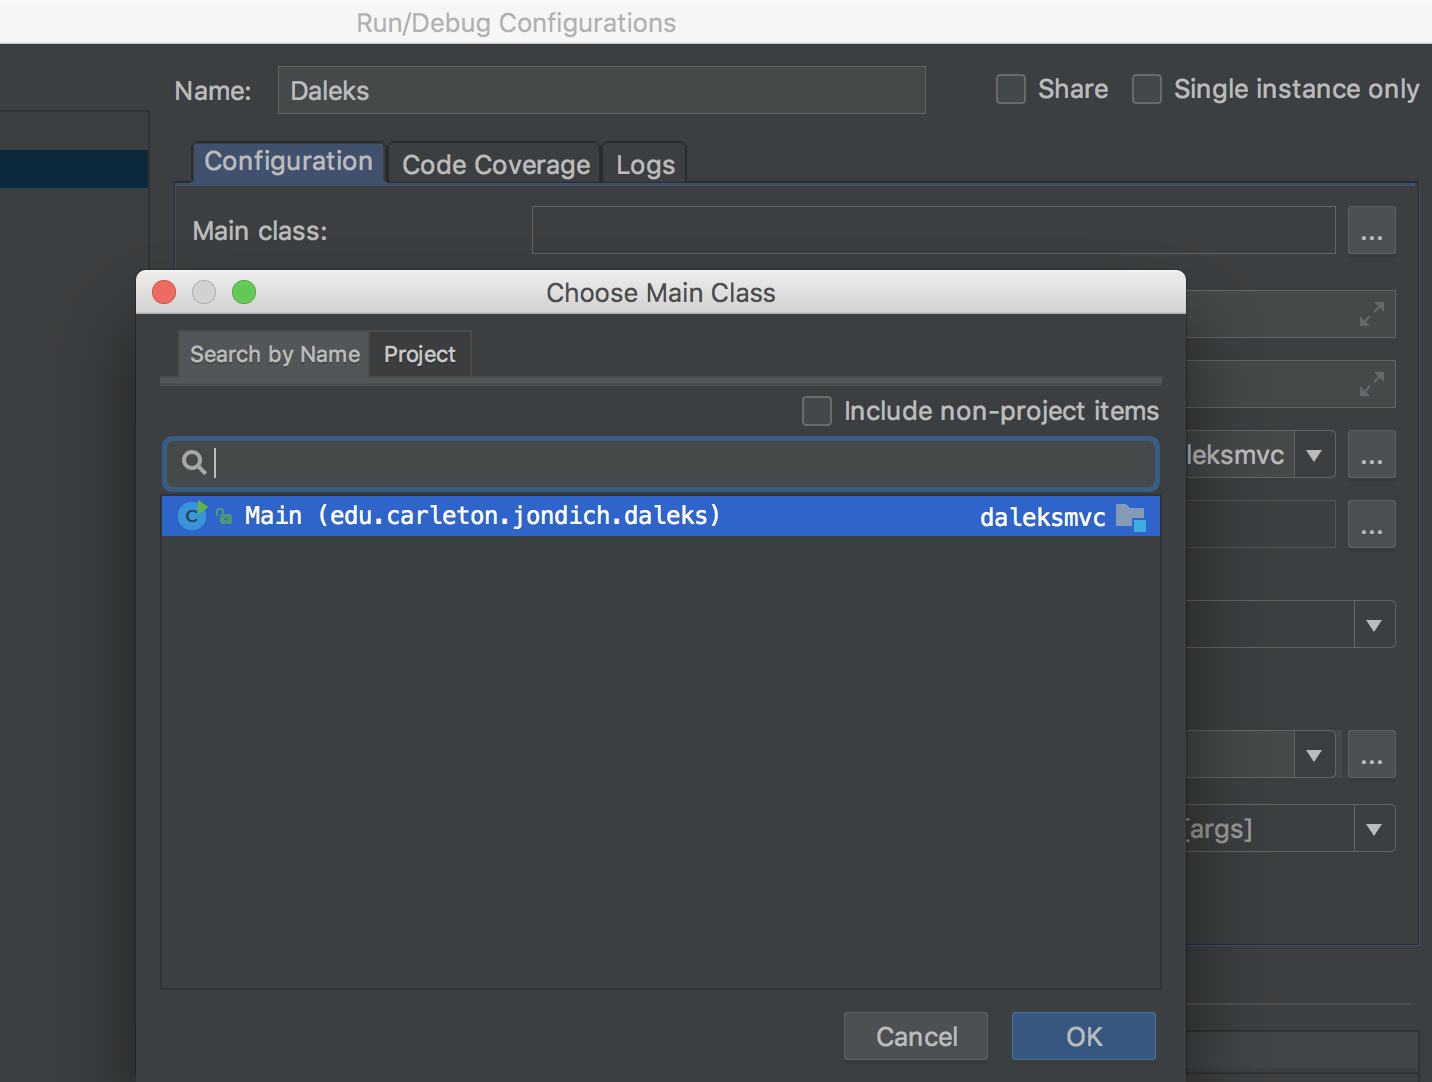
- Still in the Run/Debug Configurations dialog, change Name to something suitable (e.g. Daleks),
and then click on the ... next to "Main class". You should see this::
- Still in the Run/Debug Configurations dialog, change "VM options" to
--module-path /Users/jondich/Documents/javafx-sdk-11/lib --add-modules=javafx.controls,javafx.fxml(where you change /Users/jondich/Documents to wherever you put the javafx-sdk-11 folder). Click OK to dispatch the Run/Debug Configurations dialog. For Windows 10, I added--module-path C:\Users\jondich\Documents\javafx-sdk-11\lib --add-modules=javafx.controls,javafx.fxml
- Finally, you should now see your new Daleks build configuration selected, with the
green Run triangle/arrow and the green Debug bug next to it.
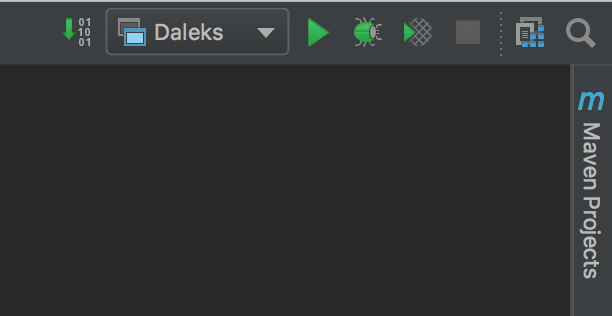
Click the bug. The application should finally build and run.