
This is a pair programming assignment. IntroductionMovies, particularly action movies that use a lot of special effects, often use a technique called "blue screening". In blue screening, the actors in a scene are filmed as they perform in front of a blue screen. Later on, after the scene has been filmed, the special effects people remove the blue from the scene and replace it with the actual scene: a dinosaur, the New York City skyline, outer space, etc. In this assignment, you will be using the same technique to insert pictures of Dave Musicant and Amy Csizmar Dalal (one of the other Carleton cs profs) into different scenes. Remember that you can think of a digital image as a long array of pixels, each of which has a red value, a green value, and a blue value, each of which is an integer between 0 and 255. Suppose, for example, that you have an image that is 200 pixels wide and 100 pixels high. Pixel numbers 0 through 199 in our imaginary array form the top row of the image, pixels 200-399 form the second row, etc. In order to modify the image, you need to "loop through" all of these pixels, one at a time, and do something to some or all of the pixels. For example, to remove all of the green color value from each pixel, this is the procedure you would use (in English):
for each pixel in the image
    set the green value of the current pixel's color to 0
done
Getting startedCreate a directory called image1 for this assignment. To facilitate reading in, storing, and manipulating image files in
"standard" formats (like .jpg, .gif, and .png), we will use a class
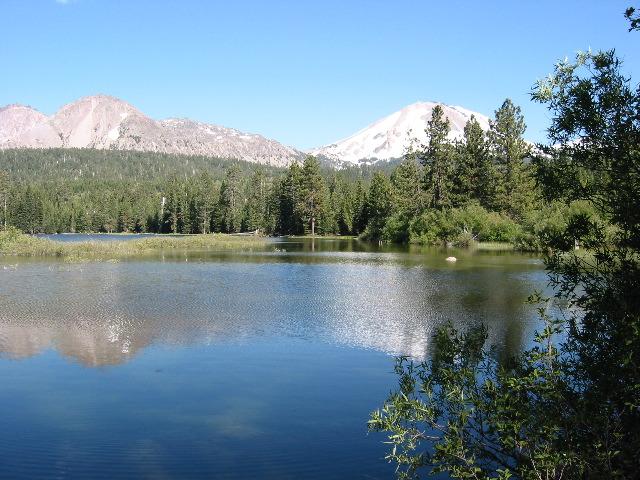
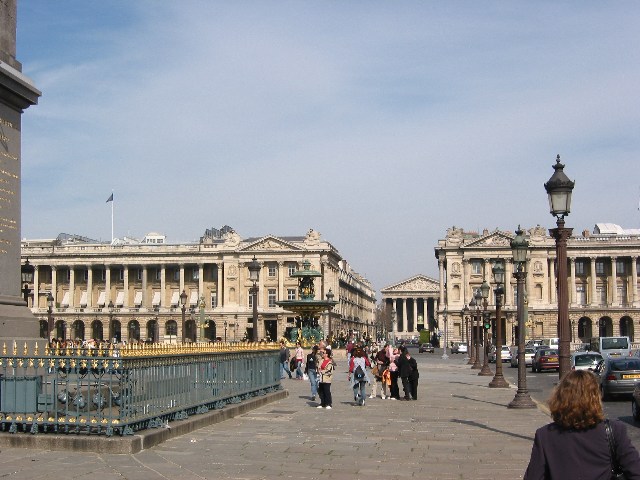
called You'll also need some images to work with. Download background1.jpg, background2.jpg, background3.jpg, dave.jpg, and amy.jpg into the same directory as
Applying basic filters to an imageWe'll start out with some basic image manipulations first. Your
task is to write a class called
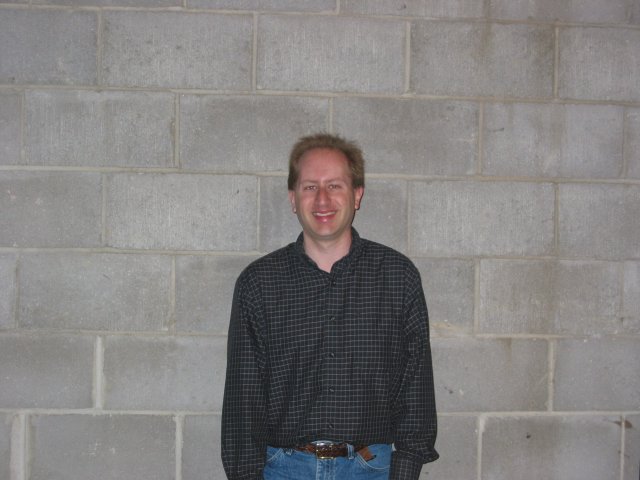
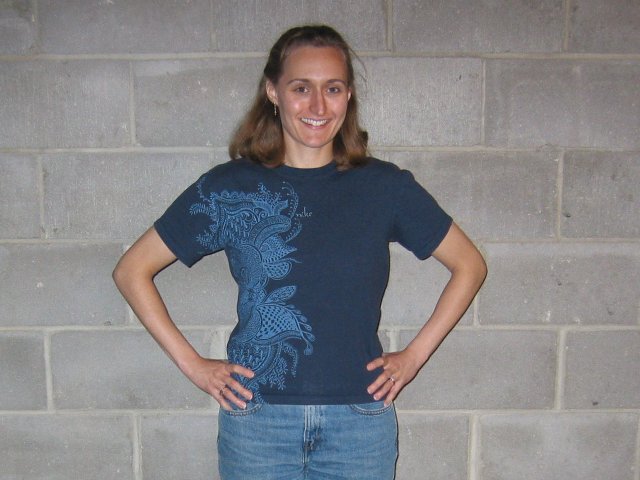
Test your program by running Blue screeningNow that you've got the hang of manipulating images, let's go back to this idea of blue screening. The pictures named background*.jpg depict some sort of scenery, while the other two (dave.jpg and amy.jpg) are clearly just people standing against a plain background (in this case, a wall instead of a blue screen). We can "combine" these images into a single image by replacing the "wall" pixels in one of the people pictures with pixels from one of the scenery pictures. To do this, we have to figure out which pixels correspond to the wall (and can be changed) and which ones correspond to the person (and should be left alone). Modify your
Test your program by running Identifying which pixels are in the wall is tricky. Here's what worked for me. Any pixel that satisfied the following counted as part of the wall: red value >= 100 and green value >= 100 and absolute value of difference between red value and green value < 30 and absolute value of difference between red value and blue value < 30 and absolute value of difference between green value and blue value < 30 (The last three conditions express the idea that the values of each of the colors must be similar, i.e. gray.) What are some of the problems you encountered while trying to remove the wall pixels and retain the "person" pixels? Could you do better? Answer these questions briefly in a plain text file named README.TexturesIf you complete the above methods (and other things like style, etc. are correct), you will receive 19 out of 20 points for this assignment. You should feel proud and good about yourself that you have gotten this far, and feel free to stop here! If you want to try to earn the remaining point write one more method:
If you look closely at the pictures of Amy and Dave, you'll notice
that the background is not a solid color: it contains some texture.
The In your README file, please explain what strategy you used to keep the texture of the wall while replacing it with another color. How well did this strategy work? What to turn inTurn in the This assignment may take you a while, so start early, ask questions, and have fun with it! |
|
 Moodle Docs for this page
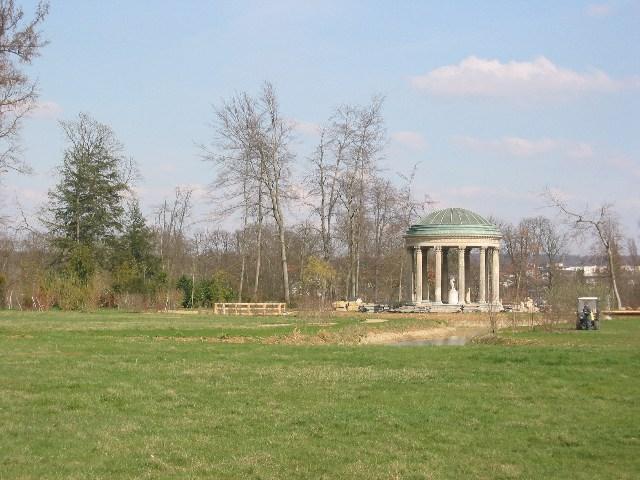